
Published January 21, 2026
Best Ways People Are Turning Slides Into Digital Photos
Those dusty slide carousels and boxes tucked away in attics and basements hold a treasure trove of memories. For decades, slides were the go-to format for sharing family vacations, special events, and everyday moments. But as technology marches on, these precious images are at risk of fading, scratching, and ultimately, disappearing. The good news? Digitizing your slides is easier than ever, allowing you to preserve and share those cherished memories for generations to come. Let's explore the best ways people are turning slides into digital photos.
1. Using a Dedicated Slide Scanner
For the purist and those with a large slide collection, a dedicated slide scanner offers the highest quality results. These devices are specifically designed to scan slides, capturing every detail with impressive clarity. They typically use a light source and a sensor to create a digital image. The resolution (measured in DPI - dots per inch) is a key factor to consider; higher DPI means a more detailed scan. Some scanners also offer features like automatic dust and scratch removal, which can significantly improve the final image quality.
Pros:
- High-quality scans with excellent detail.
- Often include software for image editing and restoration.
- Suitable for large slide collections.
Cons:
- Can be expensive, especially for high-resolution models.
- Requires some technical knowledge and time to operate.
- Scanning can be a time-consuming process.
2. Flatbed Scanners with Slide Adapters
If you already own a flatbed scanner, you might be able to digitize your slides using a slide adapter. These adapters typically hold the slides in place while the scanner captures the image. The quality of the scans will depend on the scanner's capabilities and the adapter's design. While not as specialized as dedicated slide scanners, flatbed scanners offer a more affordable option for occasional slide digitization.
Pros:
- More affordable than dedicated slide scanners.
- Can scan other documents and photos as well.
Cons:
- Image quality may not be as high as with dedicated scanners.
- Can be a slower process.
- May require some manual adjustments for optimal results.
3. Using a Digital Camera and Macro Lens
For the DIY enthusiast, using a digital camera with a macro lens can be a viable option. This method involves setting up a light source (like a lightbox or a smartphone screen with a white image displayed) behind the slide and photographing it with the camera. The macro lens allows you to get close enough to capture the details of the slide. This method requires some experimentation with lighting and camera settings to achieve good results.
Pros:
- Relatively inexpensive if you already own a digital camera.
- Offers creative control over the final image.
Cons:
- Requires technical skill and knowledge of photography.
- Can be time-consuming to set up and adjust settings.
- Image quality may vary depending on the camera and lens.
4. Professional Scanning Services
If you have a large slide collection or prefer a hands-off approach, professional scanning services are an excellent option. These services use high-quality scanners and experienced technicians to digitize your slides. They often offer various options, including different resolutions, image restoration, and file formats. While this is the most expensive method, it guarantees professional-quality results and saves you time and effort.
Pros:
- High-quality scans with professional results.
- Saves time and effort.
- Offers various options for image restoration and file formats.
Cons:
- Can be the most expensive option.
- Requires shipping your slides, which carries some risk.
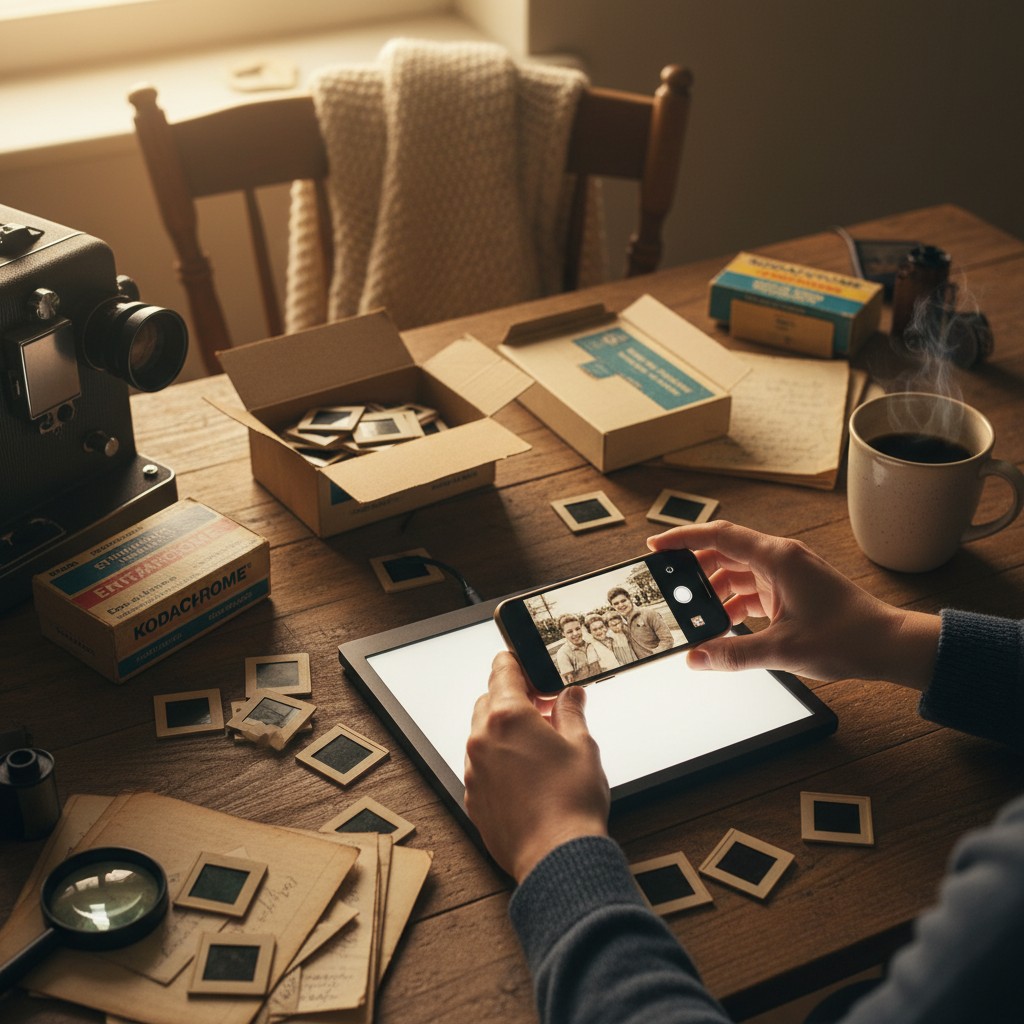
5. Using a Smartphone App: The Photomyne App
For a quick, easy, and affordable solution, consider using a smartphone app designed for scanning slides. One of the leading apps in this category is Photomyne. This innovative app uses your smartphone's camera to capture multiple slides at once. The app automatically crops, rotates, and enhances the images, saving you valuable time and effort. It also offers features like color correction and the ability to add captions and share your digitized slides directly from the app. Photomyne's intuitive interface makes it accessible to everyone, regardless of their technical expertise.
Pros:
- Fast and easy to use.
- Affordable and convenient.
- Automatic image enhancement and organization.
- Allows for sharing and collaboration.
Cons:
- Image quality may not be as high as with dedicated scanners.
- Requires a smartphone with a good camera.
Choosing the Right Method
The best method for turning your slides into digital photos depends on your budget, the size of your collection, and your desired level of quality. Consider the pros and cons of each method and choose the one that best suits your needs. No matter which method you choose, digitizing your slides is a worthwhile investment that will allow you to preserve and enjoy your precious memories for years to come.